360 video post-production workflow
this is a technical overview of 360 workflow used for creating altered 360 videos
shooting phase:
we shot a clip using Samsung Gear 360 camera in 2880×1444 resolution at 29.97 frames per second
camera it self preformed well, it is a consumer camera, so it does not offer much more than a bit of simple tweaks of automatic settings.
Post-production:
The stitch:
stitching of the two 180 degree plates was done in Samsung Gear 360 action director, we did not bother to do this phase in nuke as we would need to invest in additional CaraVR add-on, which in this case was not our priority. Action director did a job good enough for next post-production phase.
Wirtual setup:
When stitched we got a lat-long map of the footage, we wrapped that on sphere and set 6 cameras into a qubical map projection setup, meaning each camera had a 45mm focal length and film back of 90mm. cameras had same origin point and were rotated in 90 degree ratio along x and y axis to form a cube projection rig. That rig was set into the center of sphere. For each camera scanline render was set to output a square portion of the sphere. That way the footage was divided into 6 parts
track:
we chose one of the camera outputs as tracking plate. Action director did a good job undistorting original footage while it performed the stitch, so tracking wise distortion did not bring much issues, more issues came from the fact that camera itself does not have global shutter, so there was a lot of rolling shutter artifacts making it impossible to well track any sudden rotations of the camera, so we used only the part of footage with forward movement. The track of that went really well using nukes camera tracker. when we got the 3d data from one camera we used that to move the whole cube projection camera rig and it worked remarkably well
3d setup:
for 3d setup we used same virtual setup while linking the move of one camera to all of them by axis
and we had same scanline rendererfor each camera. All the 6 portions were merged using spherical transform node input type cube and output type lat long map. same setup was used for cube projection and 3d render. In the end we merged the two outputs into one composit and that work as expected.
Nuke to Blender:
we exported chan file camera setup and created same cube projection camera rig in blender and imported 3d geometry from nuke for guidance. On top of that we created animation of 3d elements and rendered each camera separately (in this case we needed to render only 4 cameras as animated elements did not get into other 2 cameras field of view.
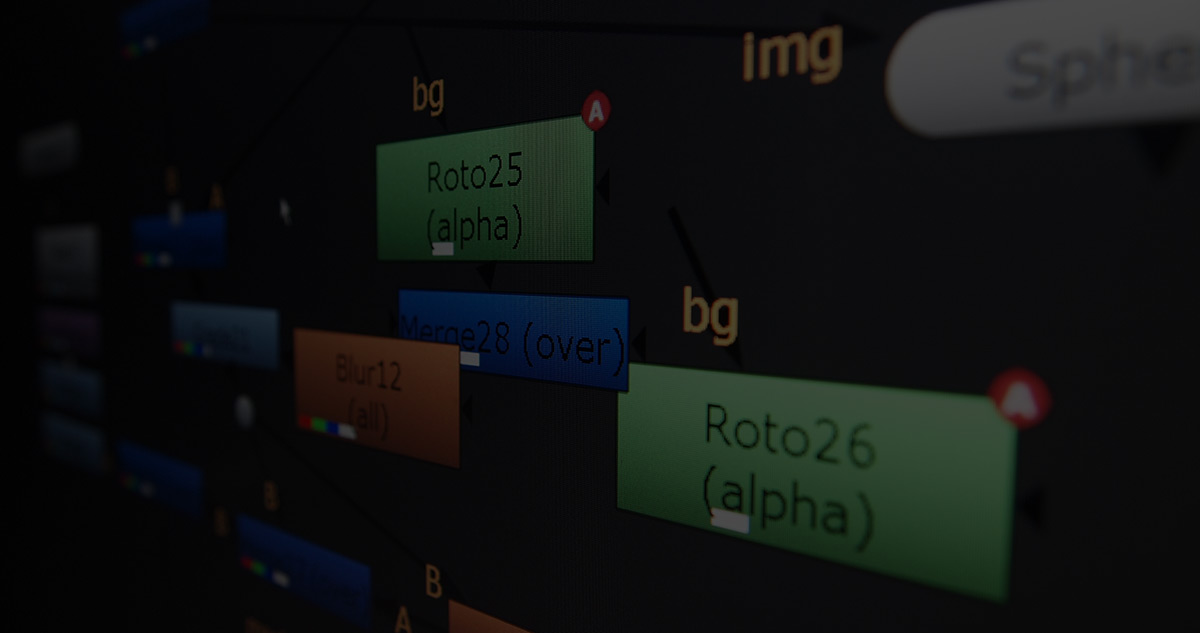
compositing:
the render plates were read into nuke and combined with same spherical transform and comped over the footage. For final tweak the horizon line was fixed using spherical transform node.
And the result was spot on, opening endless possibilities for manipulating 360 footage.
As side project, we also explored blender 360 pipeline for full cgi renders, more about that in our next blog post. So far here is a simple interior design we used for testing.